Hello, everyone – Jason Stanley here. I have been shooting Benchrest since 2009, and ScopeShield has given me the privilege of sharing some of the techniques, tricks, and tips that I have learned at the range or in my reloading room. One of those topics is how to bed scope rings.
The reason a shooter wants to bed his/her scope rings is because it increases the contacting surface area of the rings with the scope. The scope has a cozy “bed” to rest in. When done correctly, bedded rings will have close to 100% contact on the scope tube. Although some are better than others, most factory rings do not provide anything close to 100% contacting surface. This increase in ring contacting surface area provides more friction or “grip” on the scope tube, making it harder for the scope to move in the rings and, at the same time, also alleviating “pinch points” on the scope tube.
Bedding your rings does not mean your scope and/or rings will never fail. It is simply another “piece of the puzzle” that you now have control over that may help make your shooting experience more enjoyable.
Outlined below are ten easy steps to bedding your scope rings. The total amount of working time will be around 30 minutes. The total project time will depend on the bedding agent you choose to use and it’s drying time. This blog is not meant to be a “must do it this way or else” type write-up. It is simply a process that I feel comfortable with and should provide a good starting point for you to develop your own method.
How to Bed Scope Rings
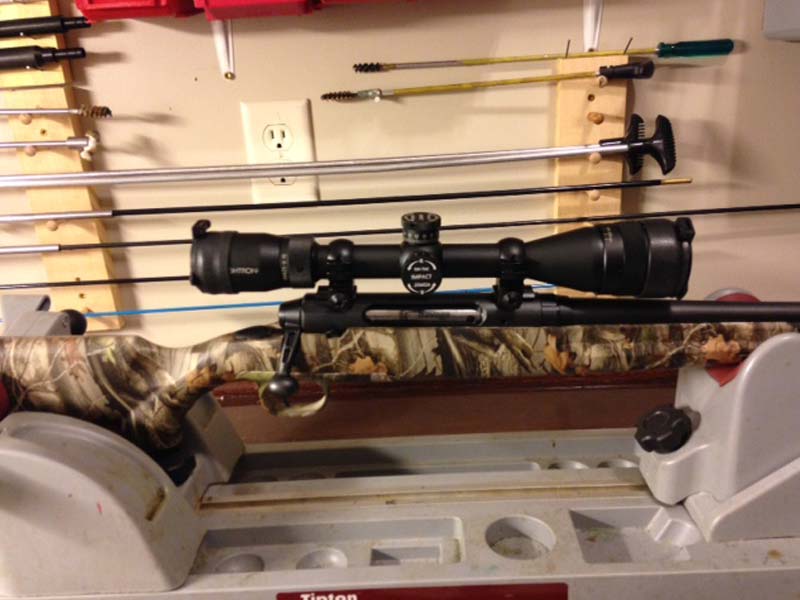
Step 1: Dry Fit Your Scope and Rings on Firearm
Do not assume that everything will fit together. You want to pre-assemble the rings and scope on your rifle. Make sure the bell of the scope is not hitting the barrel or any iron sights. This step only takes a few moments and will save you a lot of headaches in the future.
Step 2: Rough the Inside of the Rings
You will want to rough up the inside of the rings (the part that touches the scope) both top and bottom rings. Your bedding agent will adhere to the rings better if they are rough. I first take a straight screwdriver and make checkerboard scratches on the inside of the rings. Then I take course sandpaper and scratch the whole inside of the rings.
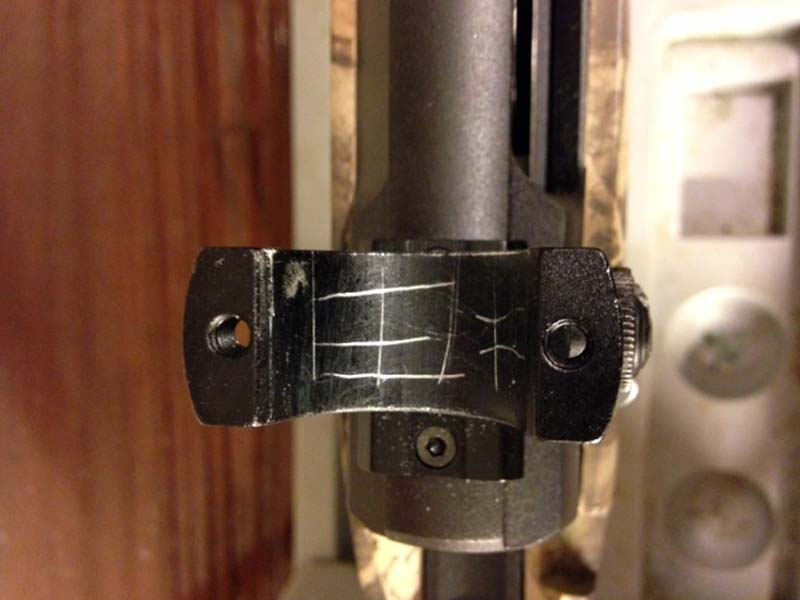
Step 2: Rough the inside of the rings. Both bottom and top rings.
Step 3: Clean
You will need to clean the dust from sanding, and any grease that is on the inside of the rings, off. I use Q-tips sprayed with Brakleen (any type of cleaner that does not leave an oily residue will work).
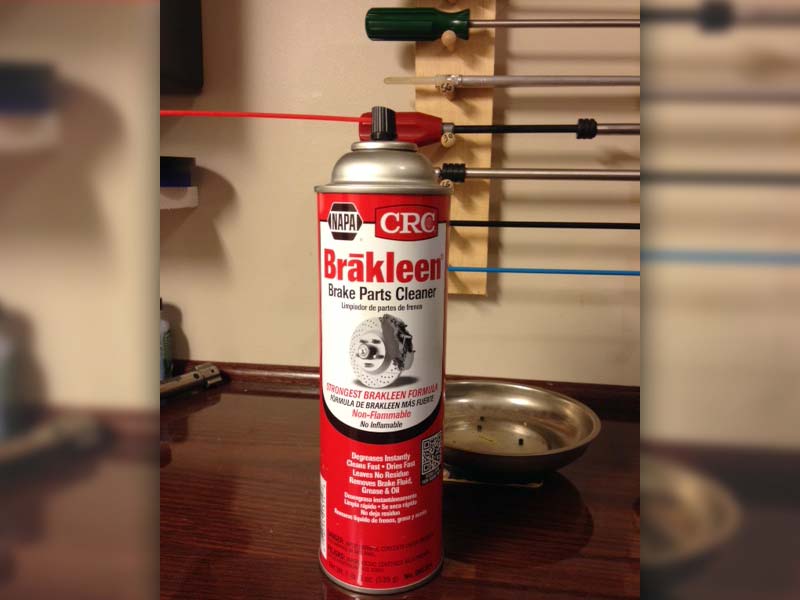
Step 3: Clean with any degreaser that does not leave an oily residue.
Step 4: Apply Release Agent
Take your time and do a thorough job on this step. You want to apply the release agent to anything you do not want your bedding compound to stick to. I use black shoe polish, but there are a lot of good release agents out there. On this project, the only place we want the bedding agent to stick is on the inside of the scope rings. All other surrounding places will get a film of release agent. This includes the faces the rings, the screw platforms, the screws themselves, and especially the scope. I usually put two coats on the scope. If in doubt – put release agent on it. The better job you do of this stage, the easier steps 9 and 10 will be.
EXPERIENCE HINT: I use an old scope as my bedding scope. The diameter of the scope tube is what is important – not the quality of the scope. If something should happen to this old scope, I will not lose a lot of sleep over it.
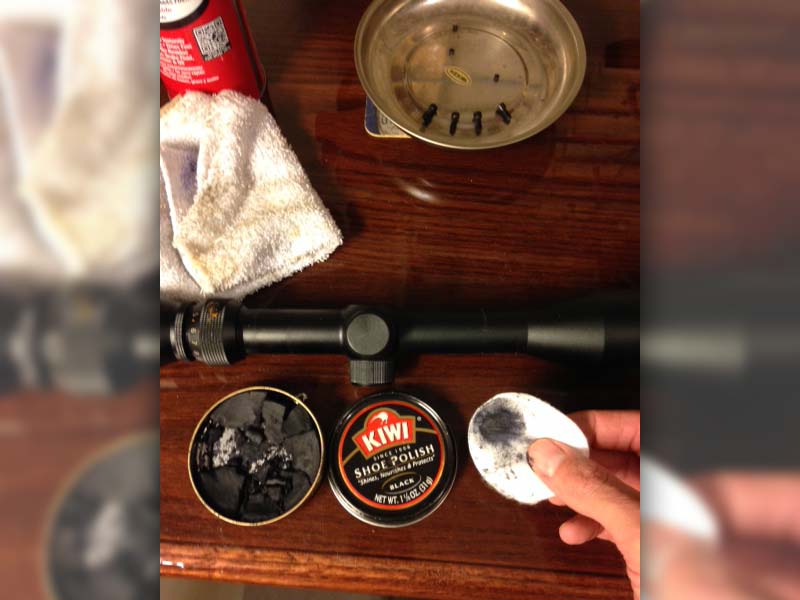
Step 4: Apply release agent.
Step 5: Clean
Using the same Brakleen and Q-tips method, and clean the inside of the scope rings, again. Sometimes, the release agent can accidentally get on this area, not allowing the bedding compound to stick – which defeats the whole purpose of bedding the rings.
Dust and debris can damage your action and trigger. When you’re out in the field, you need fast protection against the elements.

Step 6: Apply Bedding Compound
I use the slow setting JB Weld as my bedding agent. There are a lot of other good bedding agents out there. The benefits of a slow setting agent is that you have some time to align things up correctly or maybe even fix any mistakes that you made. The drawback of a slow setting agent is it takes a while for it to set up and harden. If I did this for a living, I would speed up this part of the process and use a faster setting bedding agent.
Mix the JB Weld with a wooden popsicle stick. Apply a layer to the inside of the rings – both on the top and bottom rings. You need enough bedding agent that you do not leave any voids or gaps – yet not so much that it goes everywhere when you assemble the scope on the rings. Experience will teach you how much to add.
ONE NOTE: In the picture, you will notice the JB Weld is pretty dark. I added slightly less than the required amount of hardener. I did this so I would have plenty of time to set things up and take pictures. If/when you mix your JB Weld, use equal parts and it should be more of a grey color. The end result turned out fine – it just took longer to harden and was more of a black color than the traditional gray.
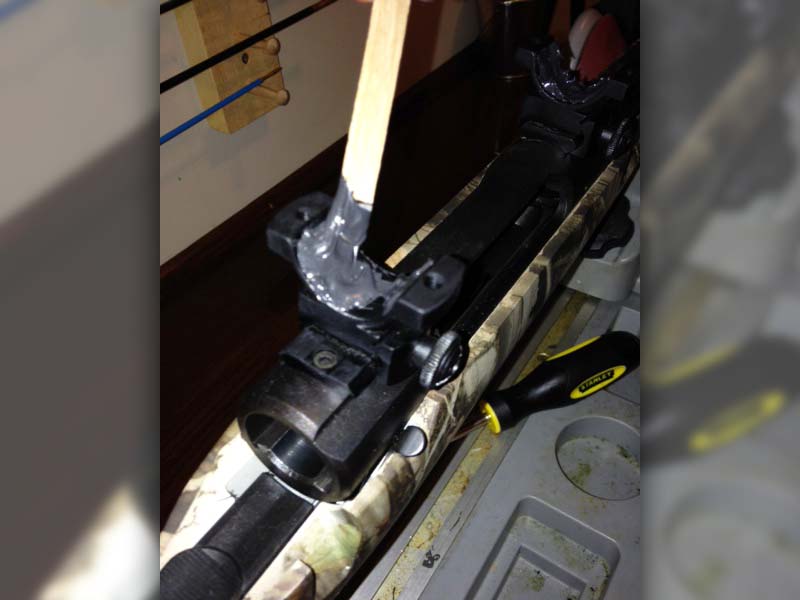
Step 6: Apply bedding compound.
Step 7: Assemble Scope and Rings
Position the scope (without touching the bottom rings) decently close to where you want it. Slowly lower the scope into the rings. Once you do this, do not twist or slide the scope any more than you have to. Set the top rings over the scope and gently screw them together. You only want to tighten the rings together enough to stop the scope from moving on its own and to have some bedding agent squish out. Over tightening the rings can push too much of the bedding agent out. Pay attention to the gaps between the upper and lower rings on each side of the scope tube. You will want them roughly the same size.
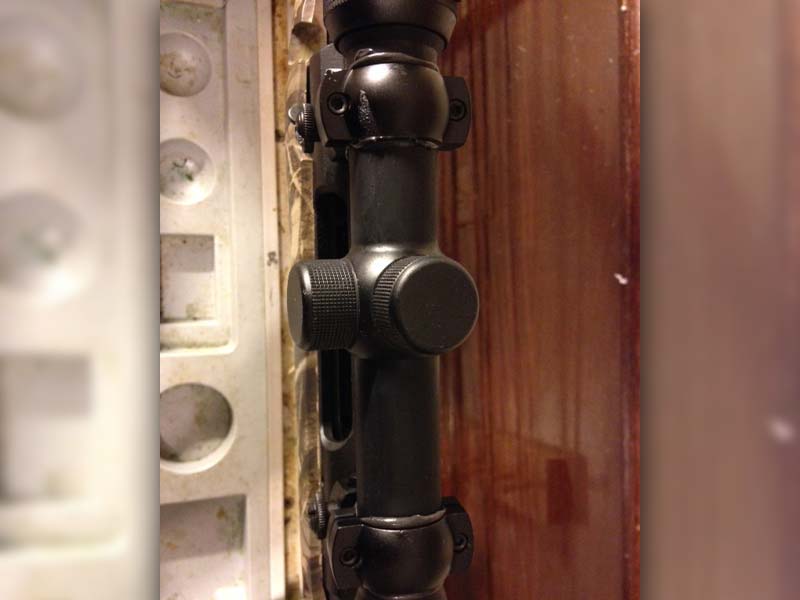
Step 7: Assemble scope into rings. Notice the bedding compound “squish”.
Step 8: Clean & Let Dry
You should have bedding agent squish out. If you do not, you will have to take off the rings and apply more agent. When this agent squishes out, take a dry Q-tip and get the majority of it off your scope and rings. Leave the scope in the rings – do not take them apart. Let the rings set for 10-15 minutes. After the 10-15 minutes, while the scope is still in the rings, use Q-tips and do a good job of cleaning up around the rings. Plan on using a lot of Q-tips in this stage. To end this cleaning process, spray a Q-tip with Brakleen and lightly scrub around the ring/scope junction to get any leftover bedding agent before it hardens.
EXPERIENCE HINT: Put a plastic bag inside your trash can before throwing the Q-tips with bedding agent on them away.
As stated before, I use slow setting JB Weld as my bedding agent. I usually let this dry/cure for 24 hours with the scope still mounted in the rings. You will need to read the directions for the agent you use to find the curing time.
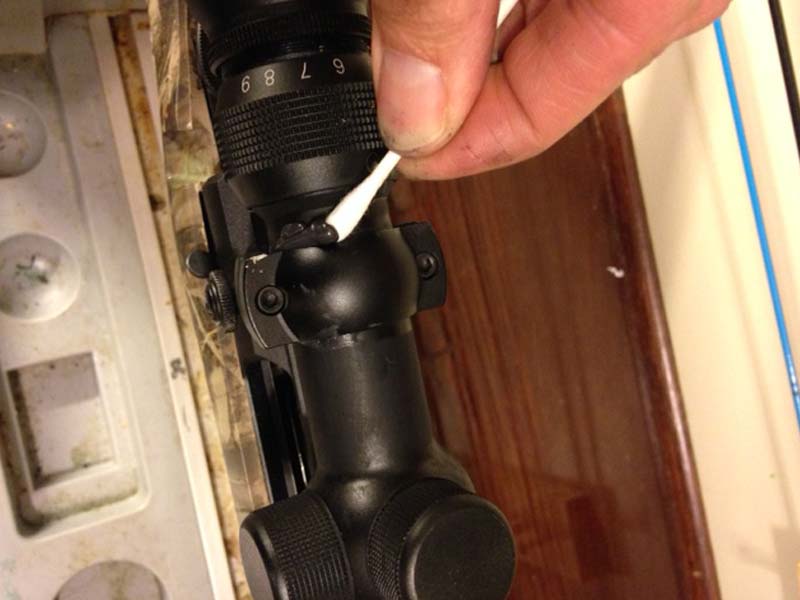
Step 8: While scope is still in the rings, clean up any compound that squished out, then let dry.
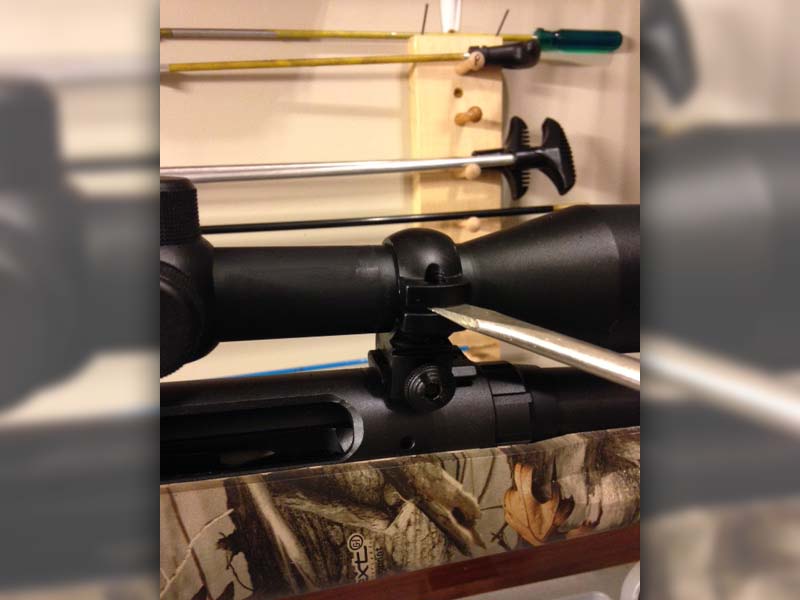
Step 9: Take Apart
Now is the time you will find out how well you applied the release agent. Remove all the screws from the rings. You will notice the top ring will be “stuck” to the scope. I stick a flat screwdriver between the top and bottom ring and twist to pry off the top rings.
Next, remove the scope. It may take some force to remove the scope from the bottom rings. Again, this is all dependent on how well you applied the release agent in step four.
EXPERIENCE HINT: You may have to take a rubber tipped hammer and gently tape the rings and the scope tube if the scope does not come out. Another reason why I use an old scope for my bedding projects.
Step 9: Take apart the scope and the rings.
Step 10: Clean & Label
Once everything is apart, you can take a razor blade and trim off any bedding agent that formed where it should not have. Brakleen and some elbow grease will clean up any release agent on the scope, rings and screws. Your rings are now ready to use.
EXPERIENCE HINT: Using a Sharpie, I label the bottom and top rings with the position on the firearm and direction they are facing.
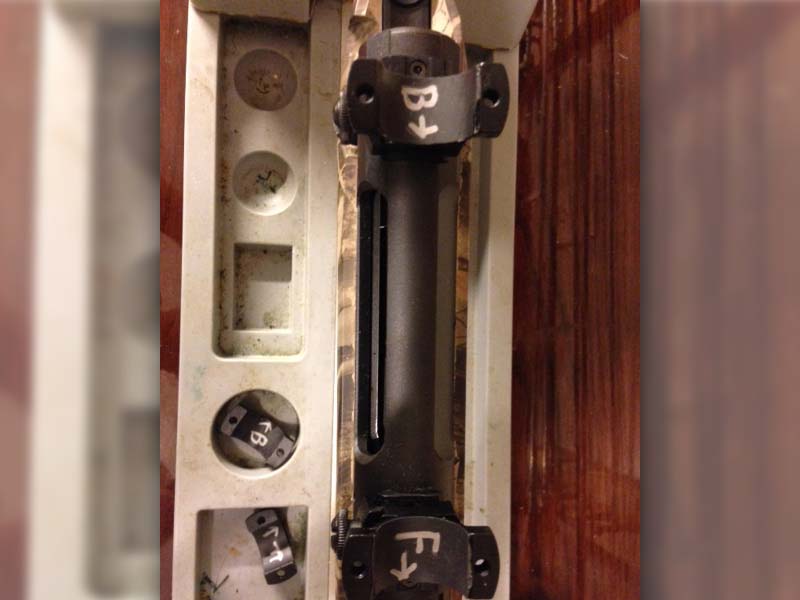
Step 10: Clean and label.
The hardest time to do something is the first time. Following the steps in this blog will make the first time bedding your scope a little less painful. I hope you give bedding rings a try. More importantly, I hope you try these steps then make adjustments to fit your style or needs. If you do, please let us know how it turned out. Until next time; enjoy the experience.