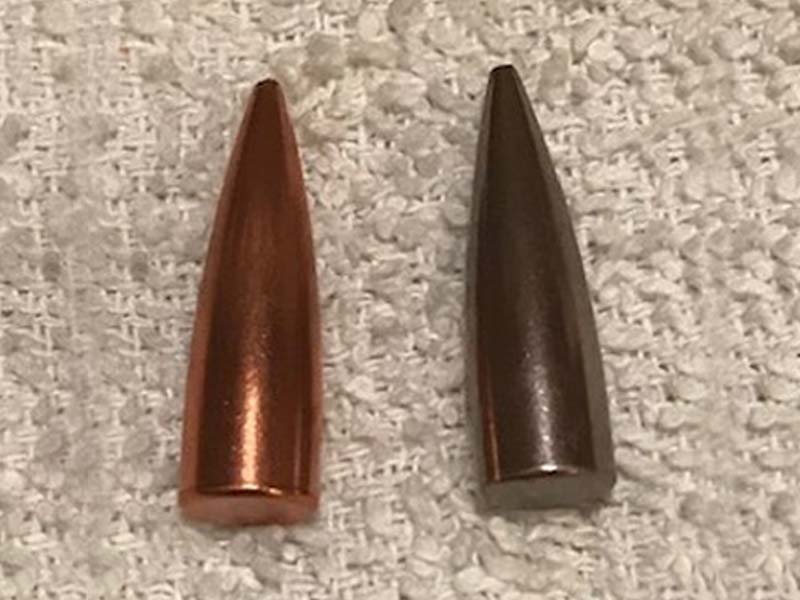
Coating bullets is a process in which a top coat is applied to the outside of a bullet. There are three main top coats that shooters can apply; Moly (Molybdenum disulfide), Boron (hexagonal Boron nitride, HBN), and Danzac (Tungsten disulfide, WS2). For the remainder of this blog, I will refer to Danzac as the coat being applied. That is not to say that Danzac is better or worse than the other two. Simply, that is what I have chosen to use.
The theory is to reduce fouling (mainly copper) which would allow the shooter to go long periods of time between cleanings and to make the cleaning process quicker and easier. It is important to note: coating bullets does not make your rifle shooter better. Meaning, if your rifle is shooting half inch groups at 100 yards and you coat your bullets, your rifle will not magically start shooting quarter inch groups. Coating bullets will only allow that rifle to shoot the half inch groups longer and make clean-up easier at the end of the shooting session. Coating your bullets is said to reduce the friction in the bore. This may mean that you have to adjust your powder charge slightly to make up for this change in velocity. Depending on your level of accuracy desired, please keep this in mind.
Set-Up: You will only have to do this once.
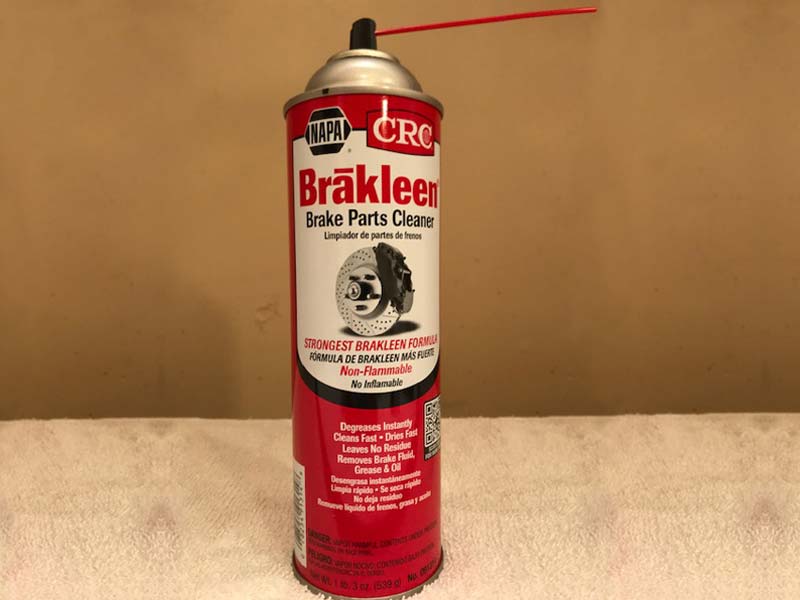
You will need to thoroughly clean and dry the inside and outside of the containers you are going to use. I use three six-inch pill bottles. I use three bottles because I can fit three bottles inside my vibratory case tumbler. If I could fit more, I would use more. Any type of dish soap and hot water will do. Next, you will need to clean steel BBs. I use Brakleen degreaser. It is important that the degreaser you use does not leave an oily film. It should say that on the can. To make it easy, I use one tube of BBs for every pill bottle. You will be able to reuse the same bottles and BBs every time you coat bullets. You are now ready to begin the coating process.
Below are my steps for coating bullets. The following steps will need to be done each time you coat bullets. As with most step-by-step directions, you can try the process and make your own adjustments to fit your particular style or needs.
Step 1: Clean bullets.
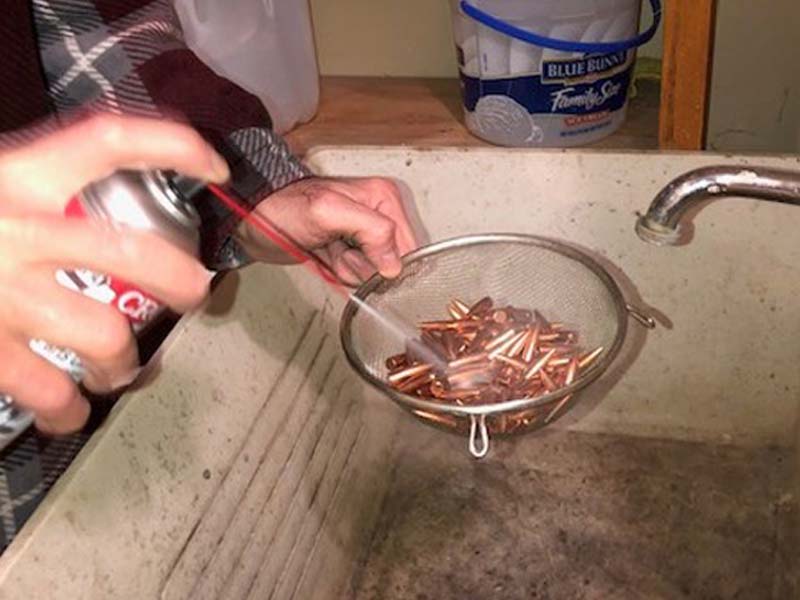
I cannot overstate how important this step is. When bullets are made, the bullet maker has to seat the lead core inside of the copper jacket. In order to do this, the bullet maker lubes the jacket. If this lube is left on the bullets, it will not allow the coating to “stick” to the jacket. The bullet maker will remove some of this lube, but you have to make sure to get all of the lube off.
I take a handful of bullets (no, I have never counted them) and place them into a small wire strainer. I then spray the bullets with degreaser (this is the same degreaser that I used to clean the BBs) and flip them around a little bit. Then I spray and flip one more time.
I then lay the bullets out in the middle of a clean dry towel by simply dumping the bullets from the strainer. I feel it is important to not touch the bullets after this stage with your bare hands. The oils from your fingers may impede the process in much the same way as the lube from the jackets would. For the remainder of the coating steps, if/when you need to touch the bullets, wear disposable surgical gloves.
Fold
Next, I fold the edges of the towel over and pat/roll the bullets dry. Then, I lift up the edges of the towel to let all the bullets roll to the center and transfer those bullets to another clean dry towel. I repeat the drying process and let the bullets air dry for a couple minutes just to make sure all the degreaser has been removed or evaporated. If using a light colored towel, you will be able to see how dirty your bullets were.
Again, do not “half-ass” on this stage. I thought I could get away once without cleaning. The oil left on the bullets got into my pill bottles and coated the BBs. It took over twelve hours to coat that batch of bullets (this was mega too long). I also had to start over with new pill bottles and BBs the next time. Learn from me = do not get lazy on this step. The good news is that in terms of working time, most of the work is done. Cleaning takes the “lion’s share” of your working time.
IMPORTANT NOTE: You will want to do this step in the garage or outside. The degreaser could ruin the finish on your sink (yeah…I learned that one the hard way, too).
Step 2: Place bullets into containers.
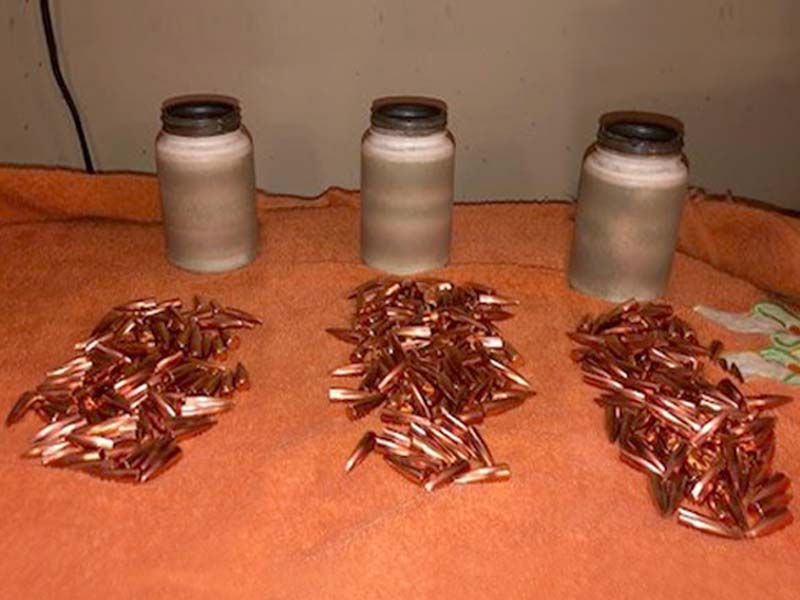
Wearing gloves, I evenly divide the bullets into three parts (because I am using three bottles). Again, no, I do not count them. It is roughly 100 bullets in each bottle. Just a rough eyeball measurement works fine. I take one part and put them into one bottle. Each bottle can be roughly 75-85% full.
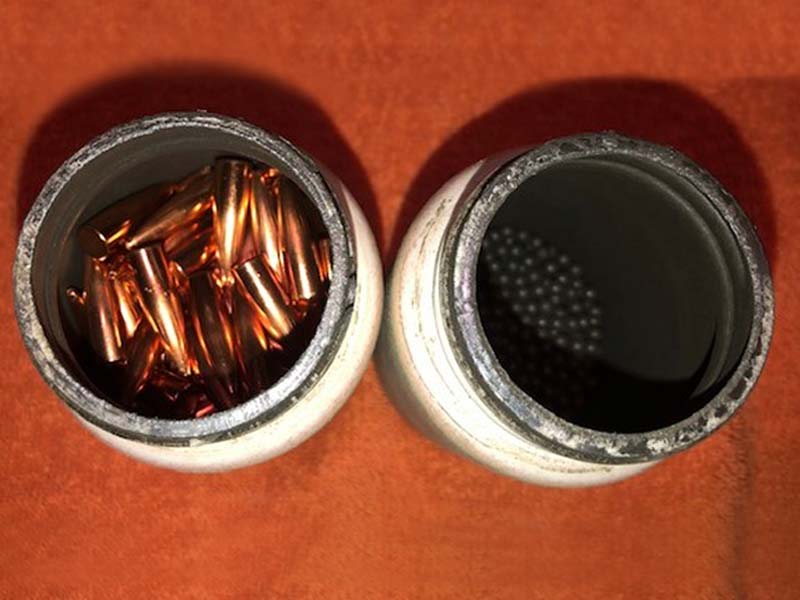
Step 3: Add Danzac and secure lids.
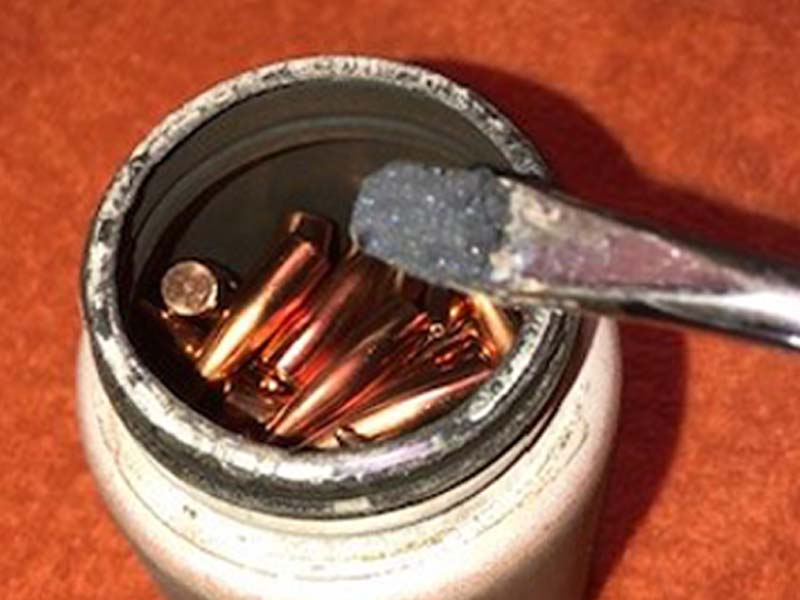
Use a flat screwdriver tip as a measuring device. I place a tip fully into each bottle. Do not worry about using too much. One of the neat properties of Danzac is that it resists sticking to itself. Meaning, once you have a thin layer on something, that layer will not get any thicker. Any excess will just keep “floating” around. This excess can then be reused the next time you coat bullets. Experience will teach you how much to use.
After screwing the lids on, I wrap each lid with black electrical tape. The vibratory action of the tumbler will loosen the lids and allow media to get into the bottle. You do not want this to happen. Take the extra 30 seconds and wrap the lids with tape.
IMPORTANT NOTE: The first time you do this, it will take a little extra Danzac because you will have to coat everything; inside of the bottle, BBs, and bullets.
Step 4: Vibrate/Tumble
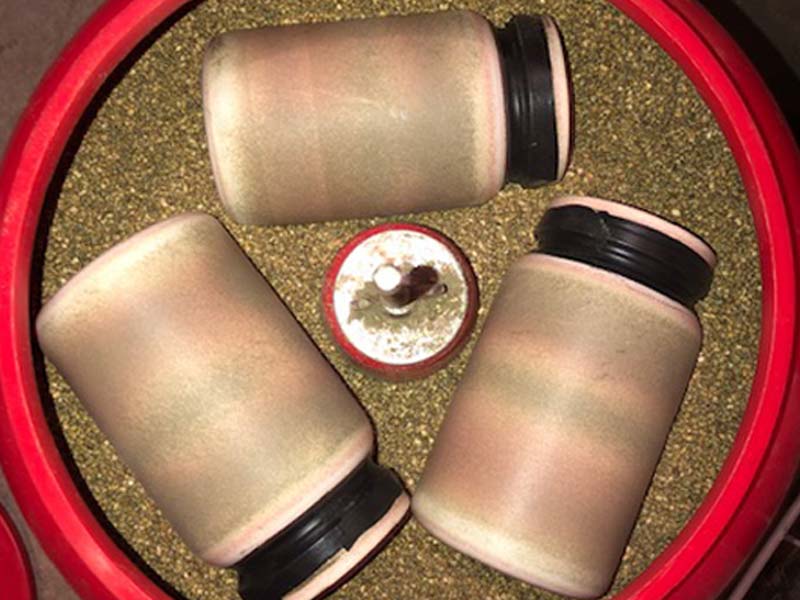
I usually let the bullets vibrate anywhere from one and a half hours up to four hours. I always check one bottle before I remove the tape from the others. If the bullets look done (no copper color showing) then I will remove the tape from the other bottles. If they are not done (still show signs of copper color), then I will re-tape the bottle and let all bottles vibrate for another half hour or so and repeat the checking process. I cannot give you an exact amount of time needed. There are many factors that affect the amount of time, such as: how clean the bullets are, size of the bullet, number of bullets, amount of coating used, and the number of BBs.
IMPORTANT NOTE: The first time you do this, it will take longer because you will be coating everything, not just the bullets.
Step 5: Separate bullets from BBs and extra Danzac.
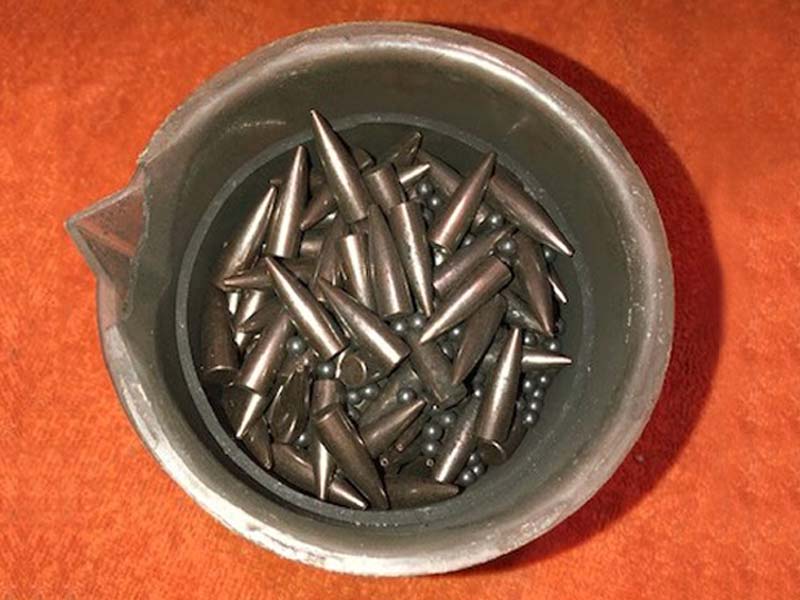
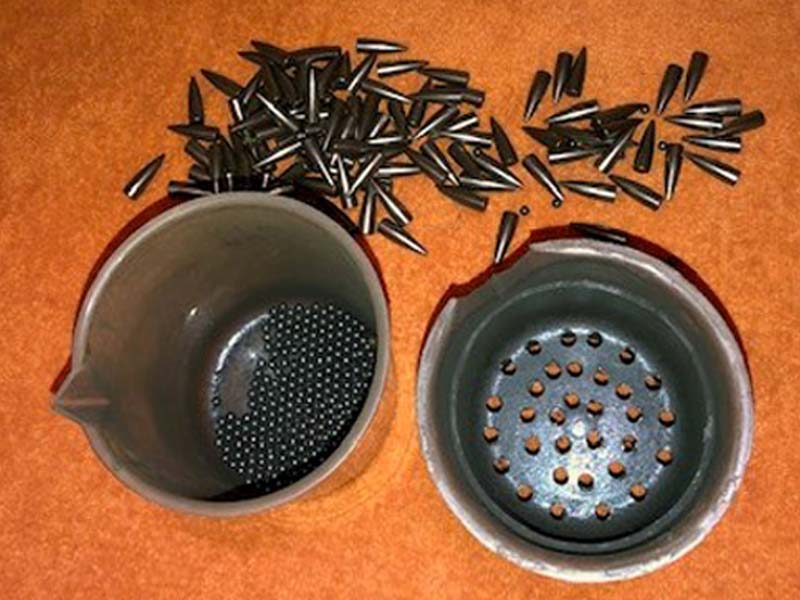
I made a device that will separate the bullets, BBs, and extra Danzac. Use two similar containers. On the bottom of one container, I drilled holes big enough for the BBs to fall through but not so big as to let the bullets fall. I then put this container inside of the other one. The idea is to let the BBs and unused Danzac fall through the holes into the second container, leaving the coated bullets inside the first.
Simply dump the contents of one pill bottle into the top container and hand vibrate until most of the BBs have fallen through.
I separate the two containers and dump the bullets onto a clean towel (no, not the ones used in the cleaning process). I then dump the BBs and extra Danzac back into the pill bottle it came from. Repeat this step for the other bottles.
IMPORTANT NOTE: You will be able to reuse these towels without washing for several coatings.
Step 6: Clean bullets.
With all of my bullets now on one clean towel, I fold the ends of the towel up and gently roll the bullets back and forth to remove any excess Danzac. Wearing gloves, I place these bullets into a thick cotton sock and gently roll the bullets back and forth. This second “tumbling” will ensure that the only Danzac left is the Danzac that is coated to the bullets. When you’re completing this process, this is the stage in which you can simply dump these now coated bullets into whatever container you keep your bullets in. They are ready to load and shoot.
An important thing to consider when buying Danzac…
A little bit goes a long way. A shooting partner and I bought a quarter of a pound together then split that in half. That 1/8 of a pound lasted me roughly 14,000 bullets.
As with most advanced loading techniques, is coating bullets for everyone? Heck no. Coating bullets would be most beneficial to the shooter who likes to shoot lots of rounds: Benchrest shooters, prairie dog hunters, AR shooters, etc. I hope you found this blog to be useful. Until next time, enjoy the experience.
Dust and debris can damage your action and trigger. When you’re out in the field, you need fast protection against the elements.

